PIR Sensor : Passive infrared rays sensor is a kind of sensor which can detect the human motion with in its surroundings.
How to use PIR sensor with Led and Buzzer
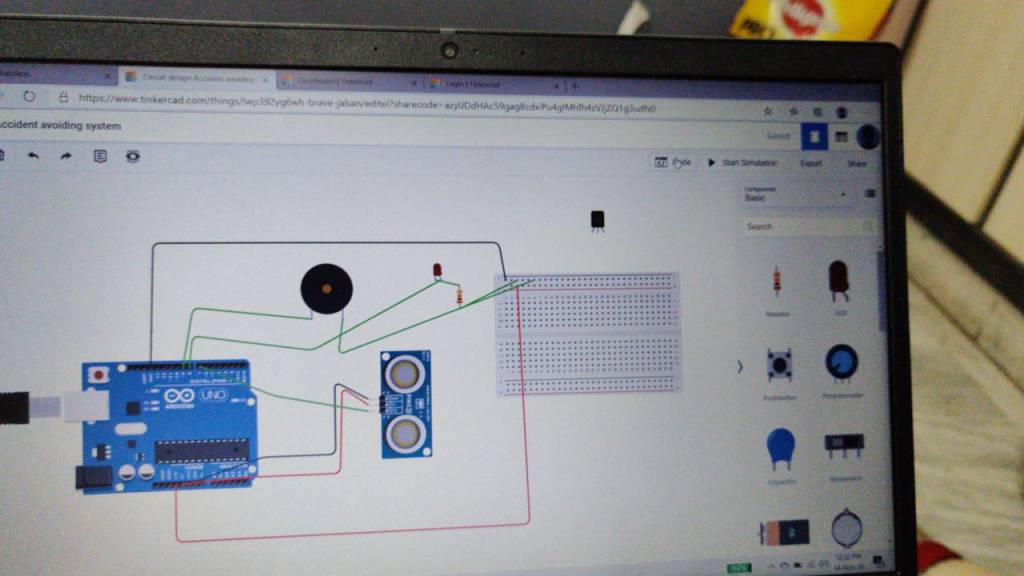
Here is the circuit diagram For PIR sensor with LED and Buzzer
The connections should be made as above mentioned i.e.,
1.PIR sensor GND pin should be connected to GND of Arduino
2.PIR sensor +5V/3.3V pin should be connected to the 5V / 3.3 V of the Arduino
3. PIR signal pin should be connected to the any one of the digital pin on the Arduino board
After giving the connection for the PIR sensor , you should give the connections for LED and Buzzer as follows
LED +ve pin should be connected to the any one of the digital pin on the Arduino board and -ve pin should be connected to the GND of Arduino through 10K ohm resistor to avoid the damage of the LED
In the next step we have to collect the -ve pin of BUZZER to the GND and then +ve pin of the BUZZER to the any one of the digital pin of the Arduino
Now you have successfully completed circuit connection. Let’s get into the code.
Source code :
void setup ( ){
//define the pins here..
PinMode(7,INPUT) //For PIR signal pin
PinMode (8, OUTPUT) //For Led
PinMode(9, OUTPUT)// For buzzer
}
Void setup ( ) {
//now we have to mention the condition here
int pirstat ;
pirstat = digitalRead (7);
if(pirstat==”HIGH”)
{
digitalWrite(8,HIGH); //turn on led
digitalWrite(9,HIGH);// turn on buzzer
} else{
digitalWrite(8,LOW); //turn off led
digitalWrite(9,HIGH); //turn off buzzer
}
}
